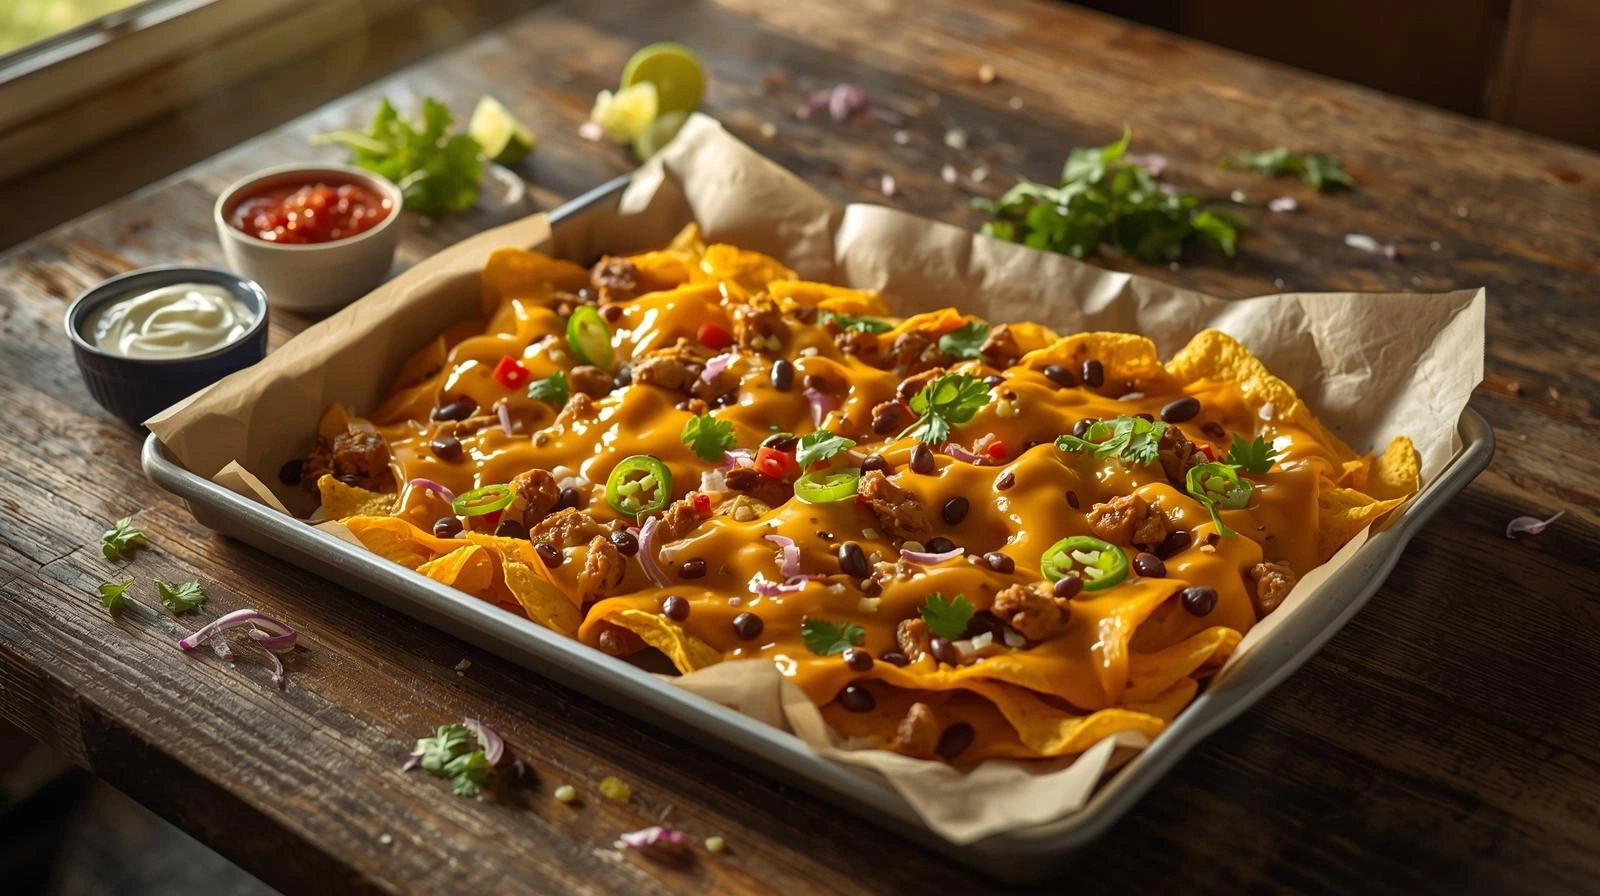
Sheet Pan Nachos: How to Layer for Even, Melty Chips (No Soggy Spots)
As an Amazon Associate, I earn from qualifying purchases, at no extra cost to you.
You’ve seen it happen. You slide a hot pan of nachos onto the table, everyone leans in, and within 30 seconds the “good chips” disappear, the ones with real cheese coverage and a little of everything. What’s left looks… unfair. Bare chips on one side, a heavy wet pile on the other, and a few sad corners that somehow got skipped.
That frustration is real, and honestly, it’s not about your cooking skills. It’s mostly about physics and timing. Chips have a breaking point. Cheese melts where heat hits. Wet toppings behave like tiny sponges. Once you layer sheet pan nachos with a plan, the whole pan eats the same: crisp edges, melty cheese, and toppings on more than just the center.
Let’s fix the soggy spots and the “chip lottery” for good.
Why Sheet Pan Nachos Go Wrong (And the Simple Fix)
If your nachos come out uneven, it usually traces back to one of these issues.
The usual problems
- You built one tall mountain in the middle, so the edges overbake while the center steams
- You poured on wet toppings early (salsa, pico, watery tomatoes), which softens chips before cheese even finishes melting
- You used pre-shredded cheese and expected it to melt like a dream (sometimes it does, sometimes it clumps and sweats)
- You crowded the pan so tightly that heat can’t circulate well
The core rule for even melty chips
Here’s the move that changes everything: build sheet pan nachos in two thin layers instead of one thick layer.
Two layers may sound like extra work, but it’s not. You’re just spreading the “good stuff” across more surface area. The chips get more chances to touch cheese. The toppings land in more places. And the whole pan melts at closer to the same speed.
If you only remember one thing, let it be this: height is the enemy of even nachos.
Chips, Cheese, and Pan Setup That Actually Work
Before you start layering, get the foundation right. Small choices here can make your nachos either crisp and glorious or kind of limp.
Best chips for sheet pan nachos
You want sturdy tortilla chips. Thin chips can taste great straight from the bag, but under cheese and toppings they tend to collapse.
Look for:
- Thick, restaurant-style tortilla chips
- Chips with a slightly bumpy surface (they grip cheese better)
- “Scoop” chips if you like chunky toppings (just expect little pools of cheese in each scoop)
If your chips shatter easily in your hand, they’re probably not your best pick for a loaded sheet pan.
Best cheese for smooth, even melting
Freshly grated cheese usually melts more evenly than pre-shredded. Pre-shredded blends often include anti-caking agents, which can make melting a bit less silky. Not always a disaster, but it’s noticeable.
Good melting combos:
- Cheddar + Monterey Jack (classic flavor and melt)
- Pepper Jack for heat
- A little low-moisture mozzarella if you want extra stretch (but don’t let it dominate the flavor)
One subtle trick: mix your cheeses in a bowl before you sprinkle. It sounds minor, yet it helps you distribute melt and flavor more evenly.
The best pan and oven setup
- Use a rimmed half-sheet pan (about 18×13 inches)
- Line it with parchment paper for easier cleanup and less sticking
- Preheat your oven fully (don’t rush this part)
- Use the upper-middle rack so the top melts and lightly browns without scorching the bottom
Convection can help if your oven runs cool or uneven, but keep an eye on the edges. Convection can brown faster than you expect.
The Layering Method: How You Get Even, Melty Chips
This is the part that makes sheet pan nachos feel “restaurant right,” even on a random Tuesday.
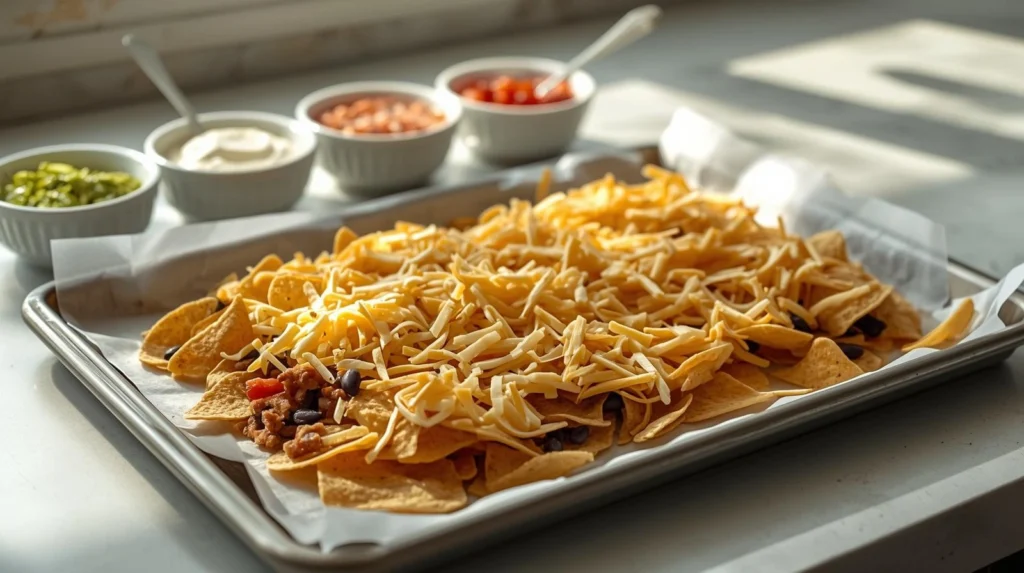
The 2-layer approach (the “even melt” formula)
- Layer 1: Chips
Spread chips across the pan in a tight single layer with minimal overlap. A little overlap is fine; a thick pile isn’t. - Layer 1: Cheese
Sprinkle cheese edge-to-edge. Don’t treat the corners like decoration. Corners deserve cheese too. - Layer 1: Toppings (lightly)
Add small amounts of cooked meat, well-drained beans, sliced onion, jalapeños, whatever you’re using, but distribute it. - Layer 2: Chips
Add another light layer of chips to fill gaps and create more “landing pads.” Keep it thin. - Layer 2: Cheese
Again, edge-to-edge. This is the layer that usually makes the pan look generous. - Layer 2: Toppings (even lighter)
A common mistake is going heavy on the top because you want it to look loaded. That tends to block heat and create soggy zones. Lighter is better than you think.
That’s the structure. Now let’s talk about topping behavior, because toppings are where sogginess starts.
Where each topping belongs (so you don’t get soggy chips)
Think of toppings in two categories: “bake-friendly” and “finish-friendly.”
Bake-friendly (go on before baking):
- Cooked taco meat (warmed is even better)
- Black beans or pinto beans (rinse and drain well)
- Drained corn
- Pickled jalapeños
- Olives
- Thin-sliced onion
Finish-friendly (add after baking):
- Salsa
- Pico de gallo
- Sour cream
- Guacamole or sliced avocado
- Fresh tomatoes (unless you seed and drain them well)
- Hot sauce and fresh lime
Wet toppings before baking tend to soften chips fast. There are exceptions, but as a rule, this is likely to keep your pan crisp.
The spacing trick that makes every bite “fair”
Here’s a practical way to stop dumping everything in the center: imagine your pan is divided into a grid, like 12 to 16 little zones. When you add meat or beans, drop a pinch in each zone.
It feels almost silly, but it works. You’ll notice the difference when you serve: people can grab from any corner and still get toppings and cheese.
Sheet Pan Nachos Recipe (Base Version)
This is a dependable base recipe you can tweak a dozen ways. It’s sized for a standard rimmed half-sheet pan and usually feeds 4 hungry people, or 6 if you’ve got other snacks.
Ingredients (Base sheet pan nachos)
| Ingredient | Amount | Notes |
|---|---|---|
| Thick tortilla chips | 10-12 oz | Restaurant-style holds best |
| Shredded cheddar | 2 cups | Freshly grated melts smoother |
| Shredded Monterey Jack | 2 cups | Swap some for Pepper Jack if you want heat |
| Cooked taco meat (beef/turkey) or shredded chicken | 1-1.5 cups | Warm it first for even baking |
| Black beans | 1 cup | Rinse + drain very well |
| Pickled jalapeños | 1/3 cup | More or less to taste |
| Red onion (thin sliced) | 1/3 cup | Optional, adds bite |
| Optional add-ons | – | Corn, olives, cilantro |
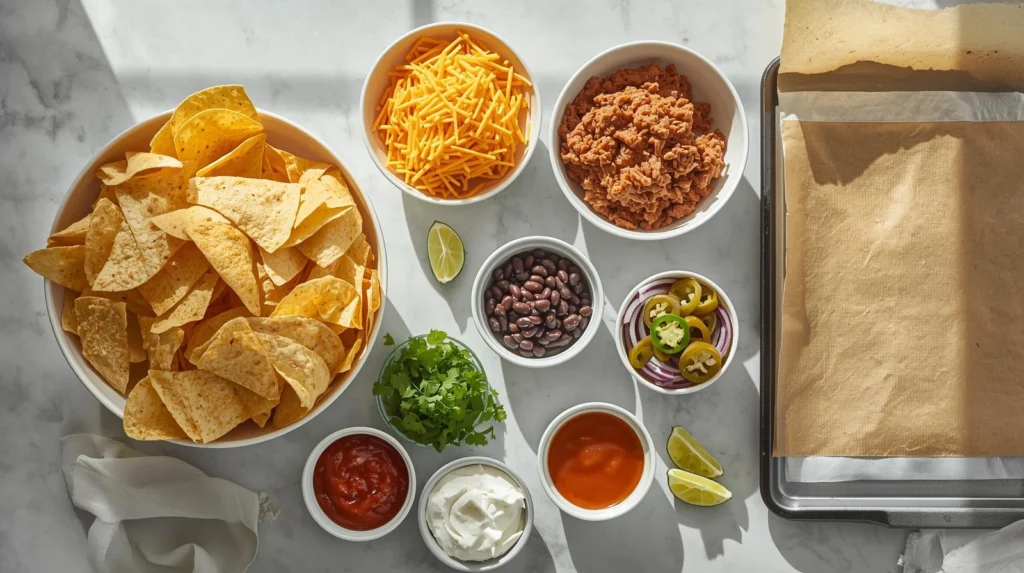
Finish toppings (choose a few):
- Salsa or pico de gallo
- Sour cream
- Guacamole or avocado
- Chopped cilantro
- Lime wedges
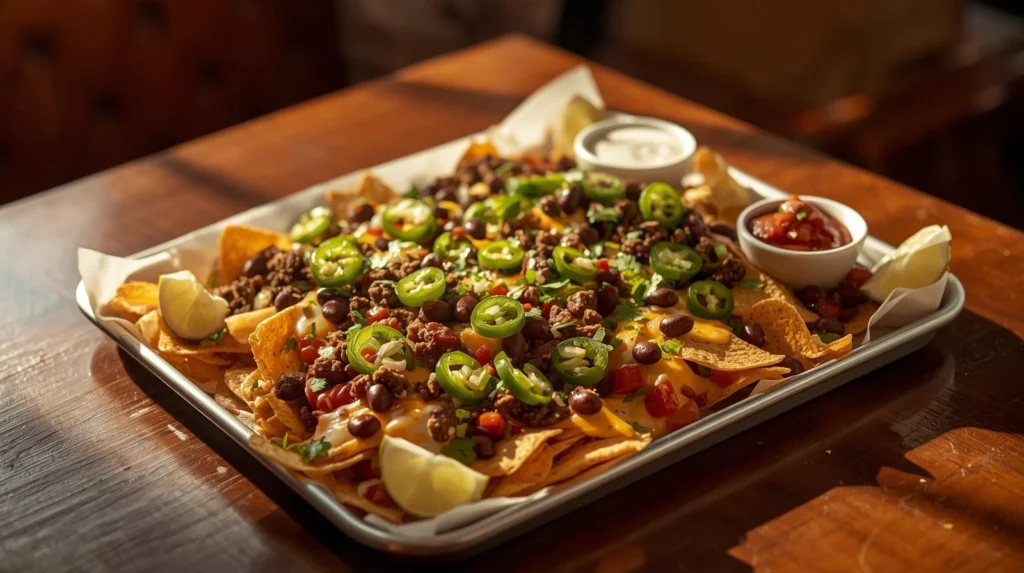
Directions (built for even melty chips)
- Heat your oven to 400F. Line a rimmed sheet pan with parchment.
- Build layer 1: chips in a tight single layer → sprinkle a thin blanket of cheese → scatter a portion of meat/beans/onion/jalapeños across the pan.
- Build layer 2: another thin layer of chips to fill gaps → another edge-to-edge cheese layer → a lighter scatter of toppings.
- Bake for 7-10 minutes, until the cheese is fully melted and bubbling. Your edges should look toasted, not burnt.
- Rest for about 2 minutes (the cheese sets slightly, and the pan stops sizzling aggressively).
- Add salsa/pico, sour cream, guac, and any fresh toppings. Serve right away.
If you’re tempted to bake longer “just to be safe,” pause. Overbaking can dry out chips and turn cheese oily. If the cheese is melted and bubbling, you’re there.
Flavor Variations (Same Method, Different Mood)
Once you’ve got the layering down, variations are easy. Just keep the wet stuff for the end and don’t overload the pan.
Chicken sheet pan nachos
- Use shredded rotisserie chicken, toss with taco seasoning and a squeeze of lime
- Add drained canned green chiles under the cheese for mild heat
Why it works: chicken stays tender, and lime brightens the whole pan without adding much moisture before baking.
Vegetarian sheet pan nachos
- Double up on beans (black + pinto)
- Add sautéed bell peppers and onions (cook them first so they don’t leak water onto chips)
A small critique here: raw peppers can look pretty on the pan, but they often release moisture and stay too crunchy. Quick-sautéing fixes both.
BBQ sheet pan nachos
- Use pulled pork or pulled chicken
- Skip salsa, drizzle BBQ sauce after baking
- Add pickled red onions (after baking) if you want tang
BBQ sauce before baking can caramelize and burn around the edges. After baking, it tastes cleaner.
Breakfast sheet pan nachos
- Use breakfast sausage
- Bake nachos, then add scrambled eggs on top (eggs don’t love long oven time)
- Finish with salsa, avocado, maybe a little hot sauce
It’s not “traditional,” but it’s extremely edible.
Pro Tips for Crispy Sheet Pan Nachos (No Soggy Chips)
Moisture control that actually matters
- Drain beans and corn like you mean it
- If your pico looks juicy, spoon it into a strainer for a minute
- Serve extra salsa on the side instead of pouring it over the whole pan
Cheese coverage tips
- Mix your shredded cheeses before sprinkling
- Sprinkle from higher up (about 8-12 inches above the pan) so the cheese falls more evenly
- Don’t leave bare chips. Even a light dusting helps everything feel cohesive
Bake vs broil (use broil carefully)
Baking at 400F usually gives the most even melt. Broiling can be great for quick browning, but it’s also where nachos go from “perfect” to “why is it black?” fast.
If you broil:
- Do it for 30-60 seconds max
- Stand there and watch the whole time
Make-Ahead, Storage, and Reheating (So They Don’t Turn Sad)
Sheet pan nachos are best right away. That said, you can make them easier on yourself.
What you can prep ahead
- Shred cheese
- Cook meat
- Rinse/drain beans
- Slice onions and jalapeños
Store everything separately so you can assemble quickly and bake when you’re ready.
How to store leftovers
If you’ve already added wet toppings, leftovers will soften, there’s no magic fix. Still, you can keep them decent:
- Refrigerate within about 2 hours
- If possible, scrape wet toppings off before storing
Reheating sheet pan nachos
- Oven: 350F until warmed and slightly re-crisped
- Air fryer: works great for small portions
Microwaving reheats fast, but it steams chips. If crispness matters to you, the microwave is likely to disappoint.
FAQ: Sheet Pan Nachos (Layering, Cheese, and Even Melty Chips)
How do you layer sheet pan nachos so every chip gets cheese?
Use two thin layers. Sprinkle cheese edge-to-edge on both layers, then distribute toppings across the pan using a grid approach instead of dumping in the middle.
What temperature is best for sheet pan nachos?
400F is a sweet spot for fast melting without drying chips too long. If your oven runs hot, you may prefer 375F and a slightly longer bake.
Why are my sheet pan nachos soggy?
Soggy nachos usually come from wet toppings added before baking, overcrowding the pan, or not draining beans and corn well enough.
Can you make sheet pan nachos ahead of time?
You can prep ingredients ahead, but it’s better to bake right before serving. Nachos don’t “hold” well once cheese melts and steam builds.
What’s the best cheese for sheet pan nachos?
Cheddar and Monterey Jack are the go-to blend. Freshly grated cheese melts more smoothly, while pre-shredded can work but may melt a bit less evenly.
Conclusion
When sheet pan nachos fail, it’s usually because the pan was built like a pile instead of a plan. Two thin layers, cheese as the glue, drained toppings, and wet stuff added at the end, those steps sound simple because they are. And they’re exactly what gets you even, melty chips across the whole tray.
Now try it once and make it yours: pick one variation (chicken, veggie, BBQ, or breakfast) and test the grid topping trick. Then come back and tell me what you loaded on your pan, and which topping you’re convinced belongs only after baking.
Related Products
Below are Amazon affiliate links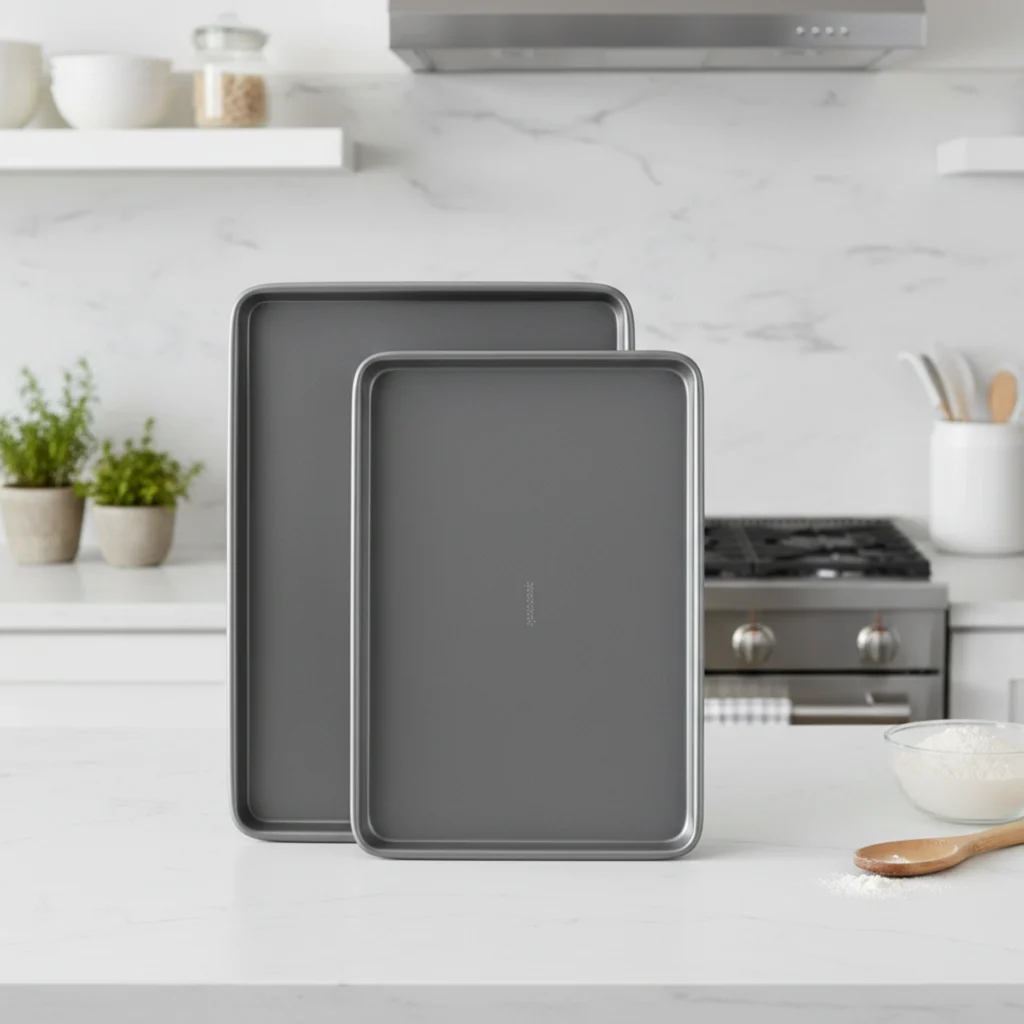
GoodCook Everyday Nonstick Baking Sheet Set
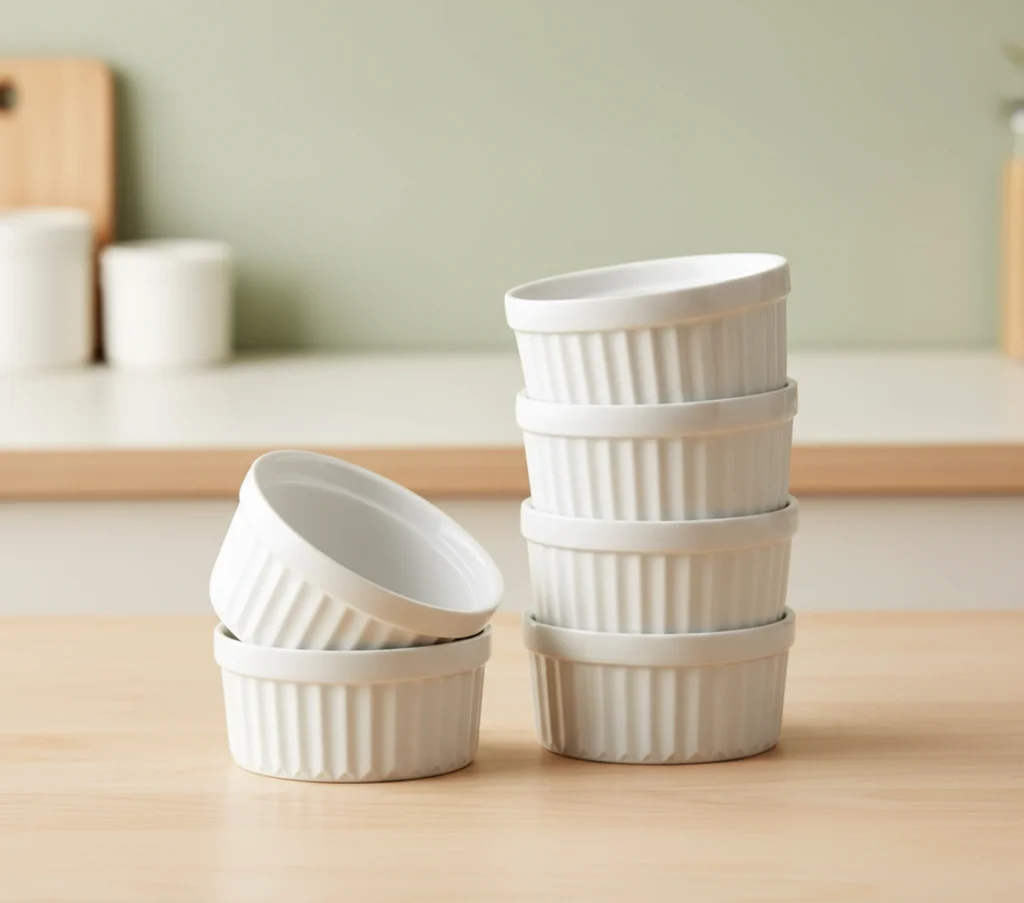
LE TAUCI Ramekins 4 OZ Oven Safe, Creme Brulee Ramekins
Tramontina Professional 12-Inch Non Stick Large Frying Pan
Titanium Cutting Board for Kitchen
Browse more categories
Helpful Cooking Resources
Bon appétit! Did you try making this?
Drop a comment below and let us know how it went!